
With a background in DIY design, construction, and installation, I was thrilled to take on the challenge of installing a glue-down cork floor. My previous experience with Jelinek Cork at the CorkHouse in Savannah, GA—a stunning showroom showcasing various cork products and innovative interior design in a pre-Civil War building—set the stage for this project. The area we aimed to cover featured a beautiful custom cork-tiled S-curve counter, outlined by flowing, sinuous edges, along with cabinets that extended into the space. I anticipated this project would be challenging, especially since I had never installed glue-down cork tiles.
Specific challenges of this project
* Curved Edges
* Uneven Original Floors
* Cabinetry
* Historic Building
* High traffic with thousands of people walking on the floor every year
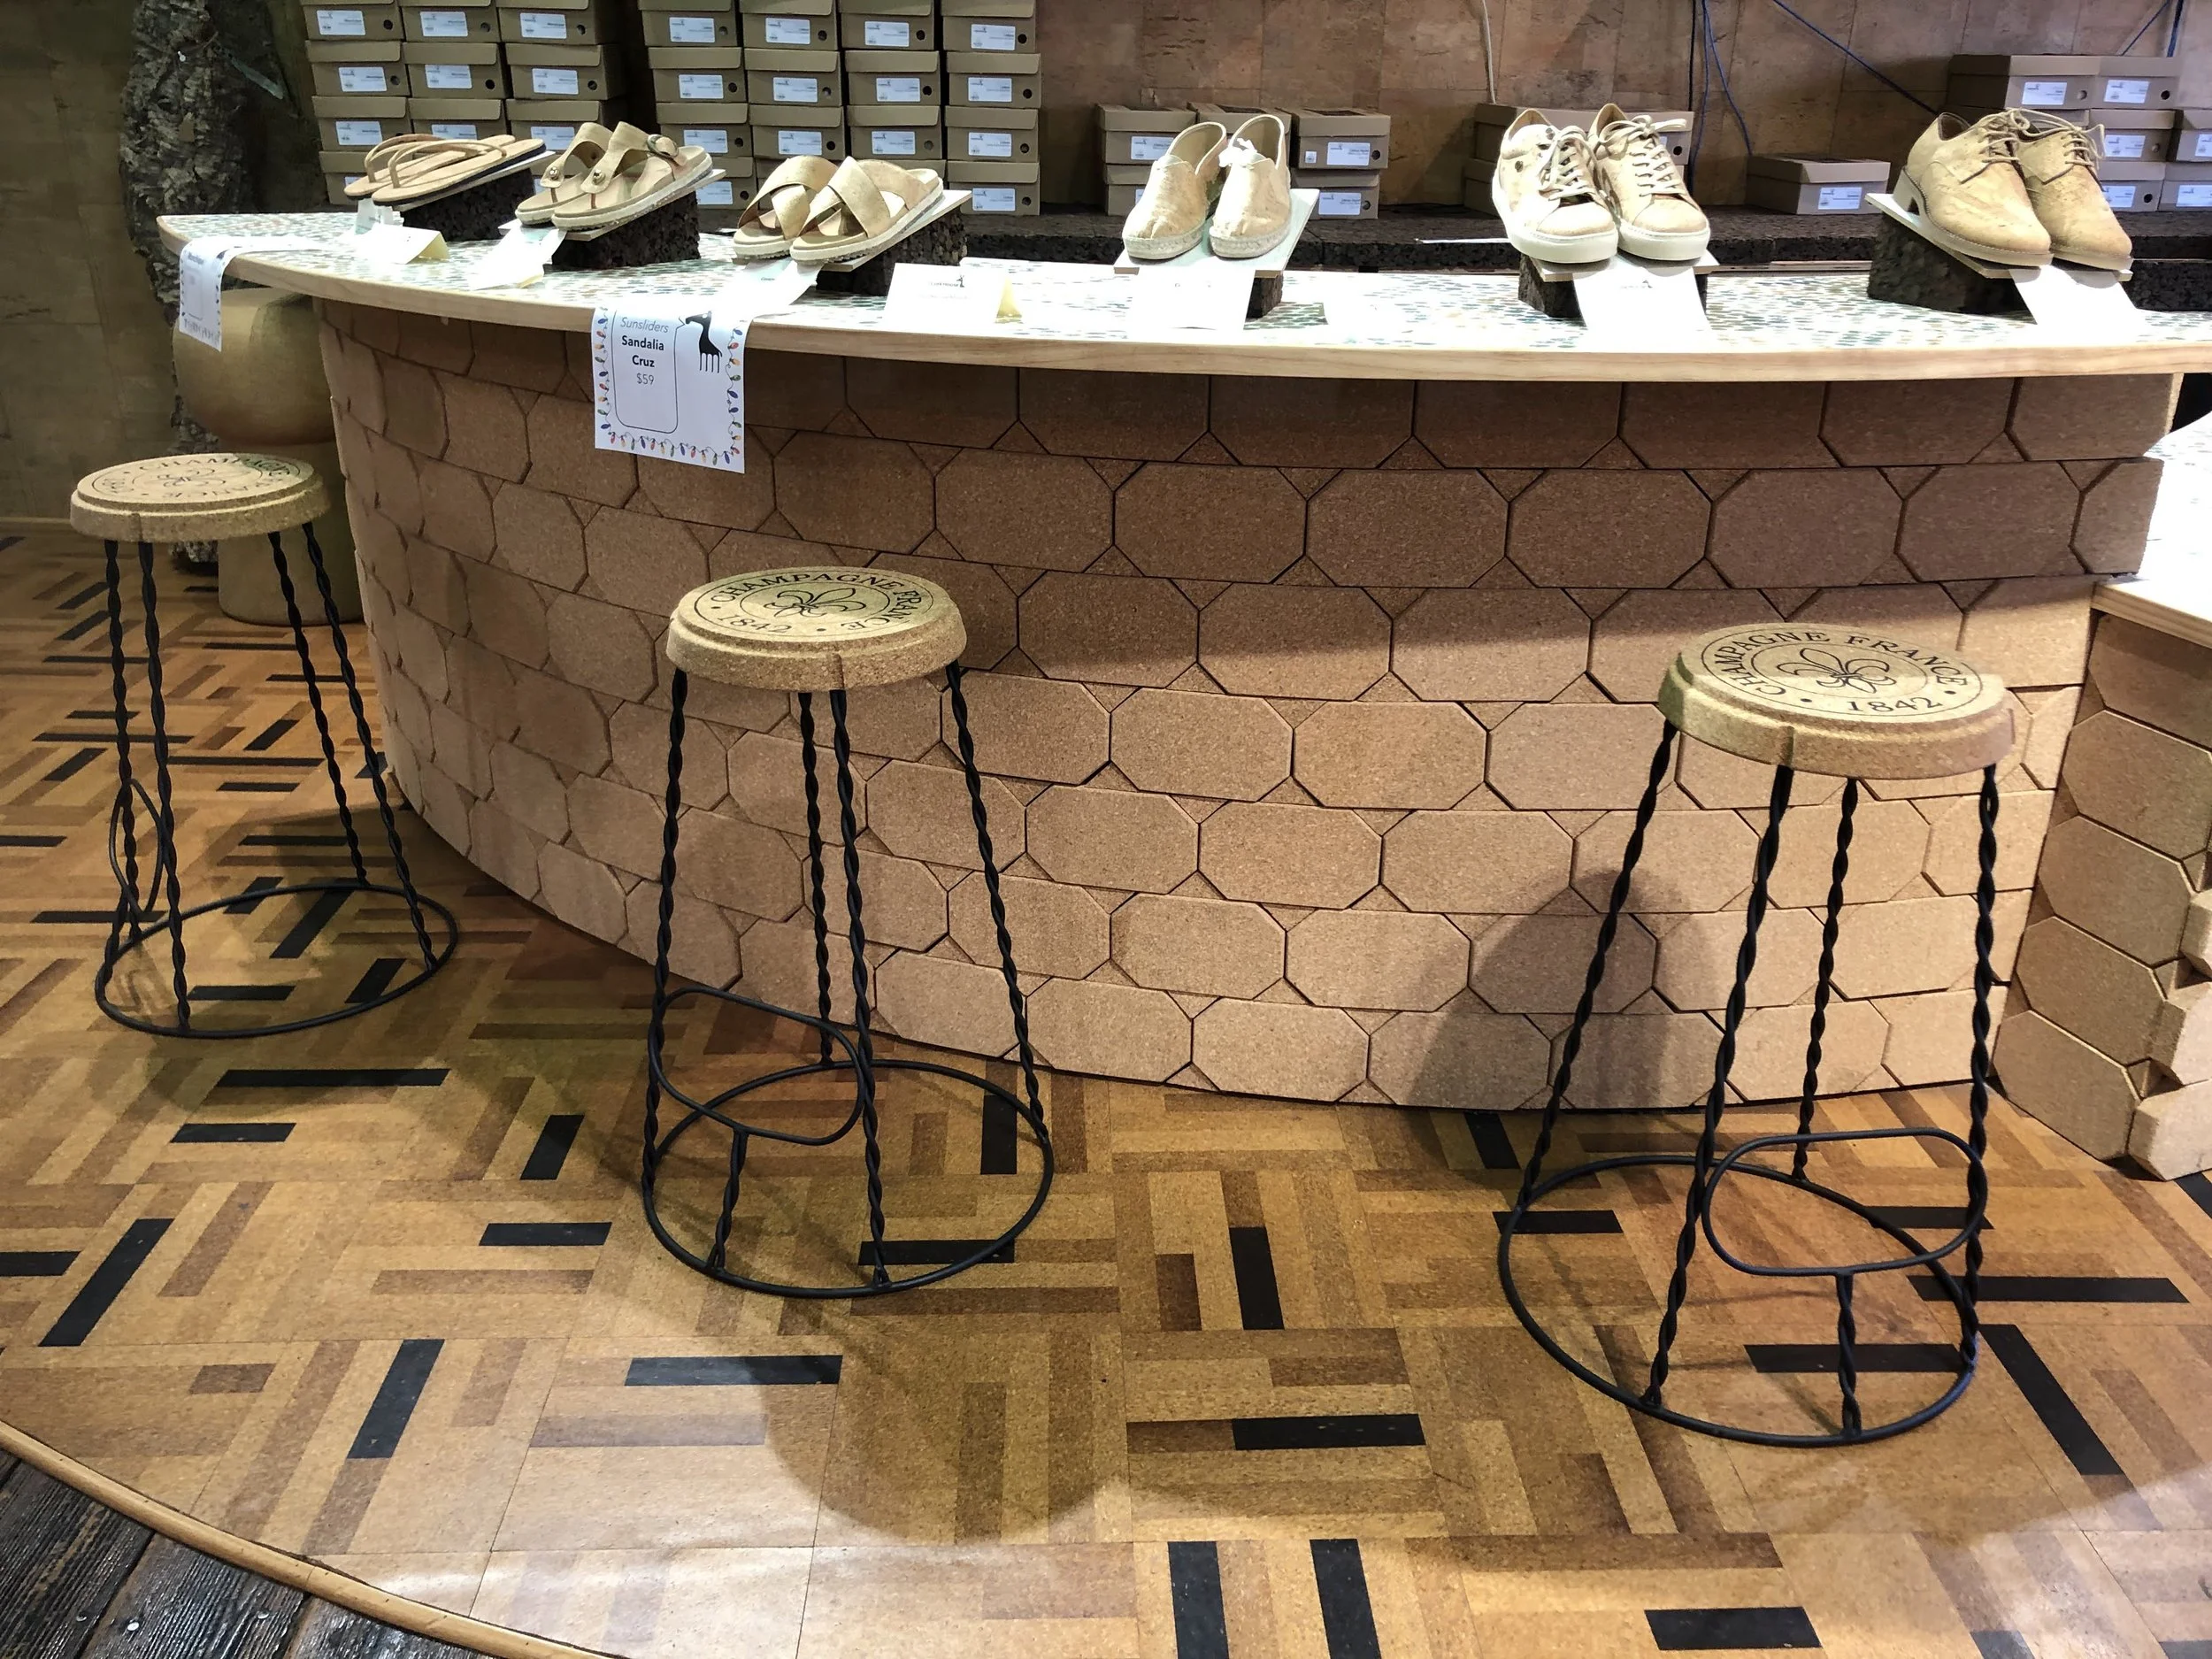
Curved flooring installation in CorkHouse Savannah under a display of shoes and barstools.
The subfloor consisted of 3/4" plywood laid over the original pine floorboards. Given the age of the building, nothing was straight or level, leading to numerous leveling issues. To address this, I had two options: apply a cork underlayment across the entire area or use a floor leveling compound. I opted for the latter, as the cork underlayment would have raised the floor enough to complicate the edging around the curves. So, on day one, I focused on leveling the floor and filling any gaps.
The leveling compound application went smoothly and was fairly easy to handle, with minimal sanding required once it dried.
Next, I had to consider the layout using Jelinek’s ‘Lima’ Select Line Tile. With all the curves and the wavy counter splitting the space, creating an initial layout presented a unique challenge. Finding the center line took several attempts as I explored various tile layouts that would feel right in the area, especially with foot traffic and sightlines coming from multiple angles. Ultimately, I found success in laying out a few boxes of tiles in different orientations to determine the most visually appealing arrangement and establish the center point. The banded pattern of these tiles offered numerous layout possibilities, so I took my time experimenting with various configurations. I initially thought arranging the tiles would be the easy part, but I realized I had it backwards!
Once I had my center point, I began marking my guidelines. With the counter in the center, using long chalk lines proved difficult (in hindsight, a laser level would have been ideal). Instead, I opted to draw section by section, doing my best to align areas. I knew that once I started placing the tiles, I could adjust my guidelines as necessary.
The Lima tile features a parquet-style banded pattern with solid toned cork throughout the entire tile thickness. These tiles are incredibly durable because they lack a veneer surface that can wear out, and any future refinishing is more straightforward, making them an ideal choice for such a high-traffic area
Having previously installed glue-down vinyl tile, I had a basic understanding of the process, but this cork installation surprised me with its simplicity. Two standout features made the installation enjoyable: the forgiving nature of the fantastic cork tiles and the outstanding contact cement adhesive sold by Jelinek Cork.
The adhesive has a milky appearance and viscosity, making it easy to apply with a roller or brush. Any drips or spills (and I had a few) were easy to clean up with a rag. This contact cement dries clear with a slight sheen, which allowed me to see when it was ready for tile placement. The adhesive needs to be applied to both the subfloor and the back of the cork tiles (remember to double your square footage when estimating how much adhesive you'll need). Before placing the tiles on the subfloor, the glue must be dry to the touch on both surfaces. This characteristic actually speeds up the installation process, as I could apply the glue quickly (which dried within 10-15 minutes, though this may vary by climate) to the tiles in batches, stacking them and preparing them for placement. I laid the tiles upside down on a tarp and easily coated them with a roller, occasionally using a brush to ensure every corner was covered. It's crucial to cover the entire tile to prevent warping and curling while also sealing it against moisture. Since this was a high-traffic commercial area, I applied a second coat of adhesive to the backs of the tiles once the first coat dried for added durability.
I quickly rolled adhesive onto the subfloor, starting in one corner and working my way across to the opposite side, ensuring full coverage. Since it goes on milky white and dries clear, it was easy to track my progress, and I made spot applications along the edges after the initial coat dried. The adhesive dries clear enough that all my layout lines remained visible, which simplified the next steps.
Contact cement functions as a pressure-chemical bond, meaning that once the two coated surfaces touch, they bond permanently immediately. This leaves no room for repositioning once the tile is down, so pre-planning and clear layout lines are essential for a smooth process (lesson learned, as my lines weren't 100% accurate). Once I began adhering the tiles, I quickly discovered that cork's natural attributes—flexibility and compressibility—made it much more forgiving to work with than vinyl. When aligning the tiles, I could gently compress and stretch them at the corners to achieve perfect alignment without any gaps. This realization was a game-changer, making the entire process more relaxing, especially with so many curves to navigate. Trimming the cork tiles was straightforward with a sharp utility knife, and I experienced no chipping or cracking (these Select Line tiles are quite robust). I also employed the same compress-and-stretch method to align the curved edges. Another benefit of the Lima Select Line tiles was that the banded pattern allowed me to reuse many off-cuts to seamlessly fill in areas along the curves, and the adhesive's strong bond ensured that even the smallest pieces were permanently affixed.
Since these tiles feature a factory-applied finish, once they are installed, the job is complete, and there is no requirement for an additional topcoat. So after a quick wipe down with a dust mop we had a beautiful floor with an even finish that was ready to walk on.

Lima select line glue down flooring in CorkHouse Savannah showcasing the curved design feature.
The final result was a stunning floor that complements the space with its durability, sustainability, and aesthetic appeal. This project not only reinforced my appreciation for cork as a material but also highlighted how easy and enjoyable it is to work with. Whether you're a seasoned DIYer or a first-time installer, glue-down cork flooring is a rewarding option that delivers beauty, functionality, and eco-friendly benefits.
What insights have I gained, and how would I approach future glue-down cork tile projects differently?
Proper subfloor preparation is crucial for achieving a truly smooth floor; even minor bumps and divots can become visible in the cork surface. In commercial settings, these small imperfections may go unnoticed, but they would be more apparent in a residential installation. Opting for a cork subfloor can effectively mask many leveling issues, which is something I will consider for my next project. (Note that with a glue down floor, you would need a subfloor (such as plywood) between the cork underlayment and the cork glue down tile. The subfloor is not necessary if installing a cork floating floor system).
When it comes to laying out your pattern, take your time. Throughout the day, a room experiences shifts in light and shadow as the sun moves across the sky. This can create dynamic patterns (especially with windows featuring divided grates) that shift throughout the space. You can leverage these variations to design captivating floor patterns, so be sure to pause and observe how your layout interacts with the changing light.
Guest Blog by Peter Zukof